MIL-PRF-19500/588A
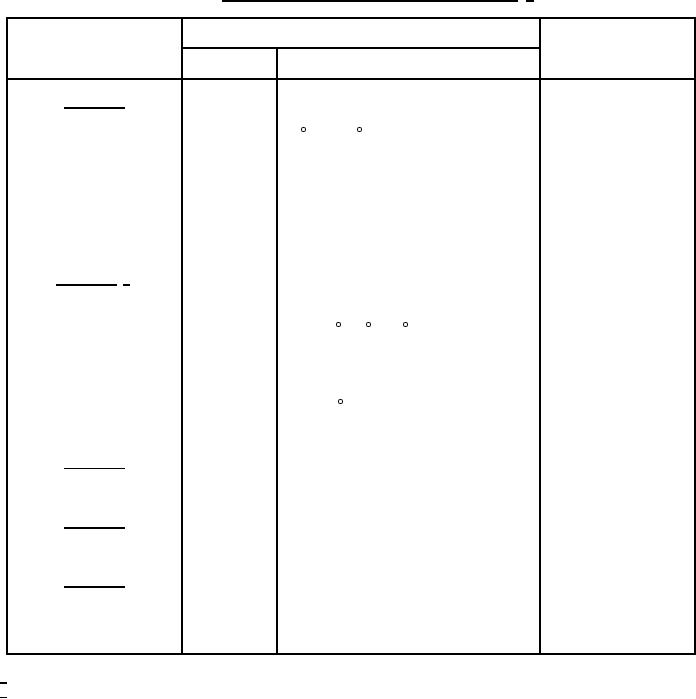
TABLE II. Group E inspection (all quality levels) for qualification only. 1/
Inspection
MIL-STD-750
Quality conformance
inspection sample size
Method
Conditions
45 devices
Subgroup 1
c=1
Thermal shock
1051
-55 C to +150 C, 500 cycles
(temperature cycle)
Hermetic seal
Fine leak
Gross leak
Electrical measurements
See table III, steps 1, 2, 3, 4, 5, 6, and 7
Subgroup 2 2/
45 devices
c=1
Steady-state reverse bias
1042
Condition A, 1,000 hours
TJ = +150 C +0 C, -15 C
Electrical measurements
See table III, steps 1, 2, 3, 4, 5, 6, and 7.
Steady-state gate bias
1042
Condition B, 1,000 hours
TA = +150 C
Electrical measurements
See table III, steps 1, 2, 3, 4, 5, 6, and 7
Subgroup 3
Not applicable
5 devices
Subgroup 4
c=0
Thermal resistance
3103
See 4.5.2
Subgroup 5
5 devices
c=0
Barometric pressure test
1001
Condition C, VCE = 600 V max;
I(ISO) = 0.25 mA
1/ Only one time testing in initial design verification.
2/ A separate sample shall be pulled for each test.
11
For Parts Inquires call Parts Hangar, Inc (727) 493-0744
© Copyright 2015 Integrated Publishing, Inc.
A Service Disabled Veteran Owned Small Business