MIL-PRF-19500/415A
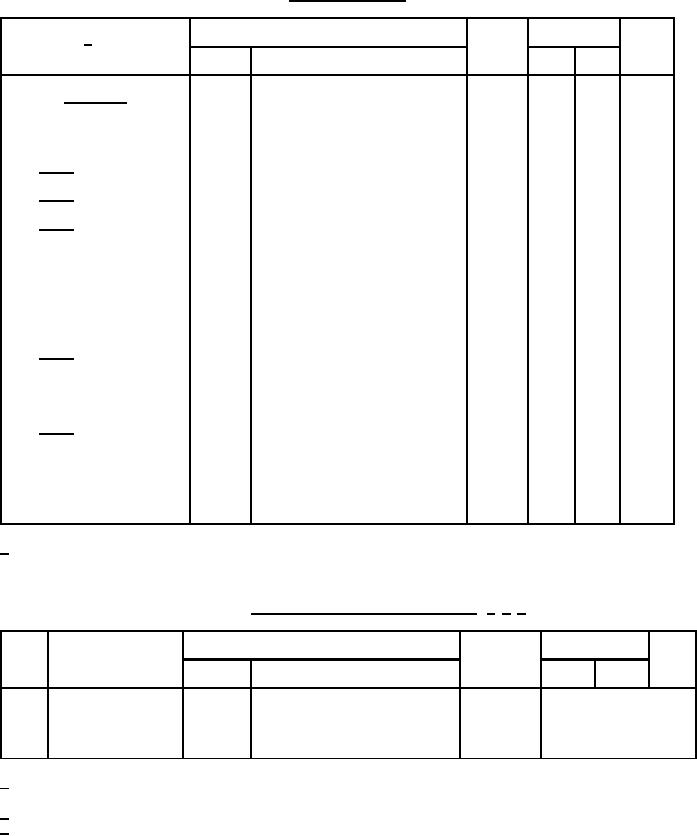
TABLE I. Group A inspection - Continued.
1/
MIL-STD-750
Limit
Unit
Inspection
Symbol
Method
Conditions
Min
Max
Subgroup 5
TC = +100�C; 1 cycle;
Safe operating area
3051
(continuous dc)
(see figure 3); t = 1 s
Test 1
VCE = 5.0 V dc; IC = 10 A dc
Test 2
VCE = 10 V dc; IC = 5.0 A dc
Test 3
2N2812
VCE = 50 V dc; IC = 0.2 A dc
2N2814
VCE = 70 V dc; IC = 0.1 A dc
Load cond. C, TC = +25�C; duty
Safe operating area
3053
cycle ≤ 2 percent.
(switching)
(see figure 4)
tp = 7.82 �s (vary to obtain IC); tr = tf
Test 1
≤ 500 ns; RBB1 = 5 Ω; VBB1 = 13 V
dc; RBB2 = ∞, VBB2 = 0; VCC = 22.5 V
dc, IC = 8 A dc, L = 15 �H, ≤ 1 Ω
tp = 25 �s (vary to obtain IC); tr = tf ≤
Test 2
500 ns; RBB1 = 5 Ω; VBB1 = 13 V dc;
RBB2 = ∞, VBB2 = 0; VCC = 22.5 V dc,
IC = 2.54 A dc, L = 150 �H, ≤ 10 Ω
Electrical end-points
Table I, subgroup 2
1/
For sampling plan see MIL-PRF-19500.
TABLE II. Groups B and C delta measurements. 1/ 2/ 3/
Step
Inspection
MIL-STD-750
Symbol
Limit
Unit
Method
Conditions
Min
Max
ĆhFE2
+20, -10 percent of initial
1.
Forward current
3076
VCE = 5.0 V dc; IC = 5.0 A dc,
value
transfer ratio
pulsed (see 4.5.1)
1/
The delta measurement for table VIb (JAN, JANTX, and JANTXV) are as follows: Subgroup 3 and 6, see table II
herein, step 1.
2/
The delta measurements for table VII of MIL-PRF-19500 are as follows: Subgroup 6, see table II herein, step 1.
3/
The delta measurements for table IX of MIL-PRF-19500 are as follows: Subgroup 1 and 2, see table II herein,
step 1.
9
For Parts Inquires call Parts Hangar, Inc (727) 493-0744
© Copyright 2015 Integrated Publishing, Inc.
A Service Disabled Veteran Owned Small Business